
There’s something undeniably captivating about a portrait where the subject is in sharp focus and the background melts away into a soft, creamy blur. That subtle separation between the person and their surroundings creates an image that immediately draws the eye and evokes emotion. This effect isn’t magic or expensive lighting—it’s the power of depth of field. For anyone stepping into the world of portrait photography, mastering depth of field is one of the most effective ways to elevate your work from ordinary snapshots to images that feel refined and intentional.
Depth of field (DOF) is often misunderstood as something that only professional photographers can control, but the truth is that anyone with a basic camera—or even a modern smartphone—can learn how it works. Once you understand how aperture, focal length, distance, and sensor size interact, you can start creating portraits with backgrounds that beautifully complement your subject rather than distract from them. This is what gives many professional portraits their signature look.
In this guide, we’ll break down exactly what depth of field is, why it matters so much in portrait photography, and how you can control it no matter what gear you’re using. Whether you’re shooting with a full-frame camera, an entry-level crop sensor body, or something in between, these principles will help you create portraits with depth, mood, and a touch of artistry.
Table of Contents
- What Is Depth of Field?
- How Aperture Affects Depth of Field
- The Role of Focal Length and Distance
- How Sensor Size Influences DOF
- How to Control Depth of Field for Portraits
- Common Mistakes Beginners Make (and How to Fix Them)
- Creative Ways to Use DOF in Portraits
- Bringing It All Together
- FAQ
What Is Depth of Field?
At its core, depth of field refers to the zone of acceptable sharpness in a photo. It’s the area in front of and behind the point where you’ve focused that appears crisp and clear to the viewer. In portrait photography, the size of this zone can dramatically change the mood and feel of an image. A shallow depth of field can isolate your subject and create a soft, blurred background, while a deeper depth of field can keep more of the scene in focus for a storytelling effect.
Think of it like this: if you focus on someone’s eyes during a headshot with a wide aperture, their face might be sharp while the background turns into a smooth wash of color. That instantly puts the emphasis on them. If you use a narrower aperture, however, you’ll start to see the environment behind them come into focus. Each approach tells a different story.
Depth of field is one of the most essential concepts in portrait photography because it gives you control over what the viewer pays attention to. By deciding how much of the scene is sharp or blurred, you guide the viewer’s eye exactly where you want it to go. That’s what makes a portrait feel intentional and polished, even when the setup is simple.
Once you understand the mechanics behind depth of field, you can stop relying on luck or guesswork and start shaping your portraits with precision. It’s a skill that builds confidence and creativity, opening the door to more expressive photography.
How Aperture Affects Depth of Field

Photo by Krakenimages.com via Shutterstock
Aperture is one of the most powerful tools for controlling depth of field in portrait photography. It refers to the size of the opening in your lens through which light passes. Measured in f-stops, a smaller number like f/1.8 means a wider aperture, while a larger number like f/11 means a narrower one. This single setting has a huge impact on how much of your image is in focus.
When you shoot at a wide aperture, the depth of field becomes shallow. This is why lenses with wide maximum apertures are popular for portraits—they create that beautiful background blur that photographers often call “bokeh.” For example, shooting at f/1.8 on an 85mm lens can make your subject’s eyes tack-sharp while the background dissolves into soft shapes and colors. It’s an effective way to make the person the center of attention.

Photo by Thomas Lusth via Shutterstock
On the other hand, a narrower aperture increases the depth of field. Shooting at f/8 or f/11 can keep both your subject and more of the background in focus. This is useful when photographing groups or environmental portraits where the surroundings help tell the story. If you’re shooting a musician in their studio or a chef in a kitchen, showing more detail can strengthen the narrative.
One common mistake beginners make is going too wide with the aperture and ending up with only one eye in focus. Even small movements from the subject can throw focus off at f/1.4 or f/1.8. Learning how to balance aperture with your desired look will give you sharper, more consistent portraits.
The Role of Focal Length and Distance
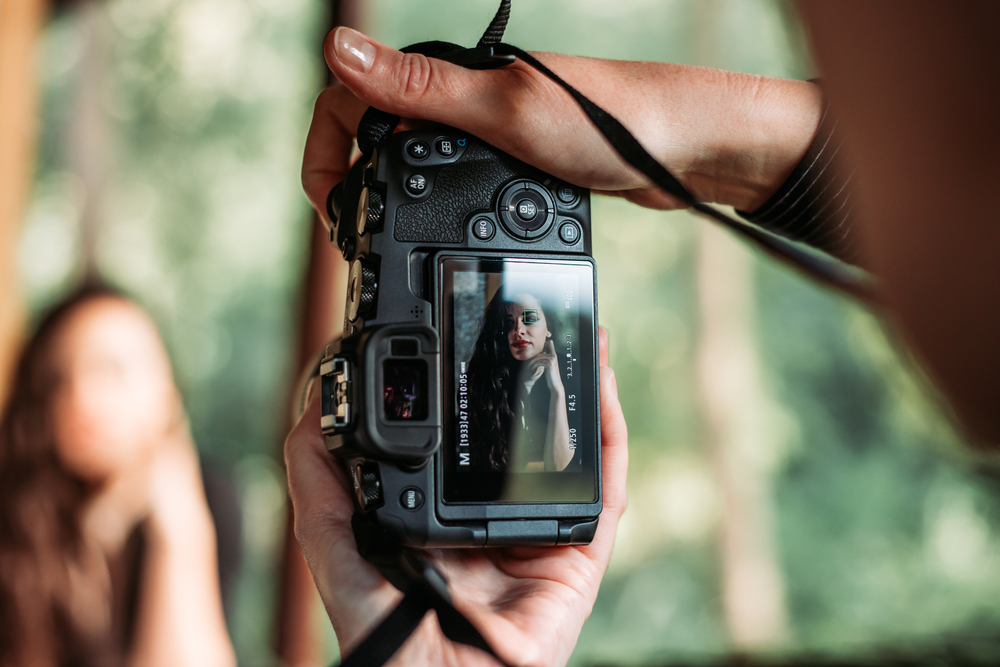
Photo by Stivog via Shutterstock
Focal length plays a big role in shaping depth of field in portrait photography. Longer focal lengths, like 85mm or 135mm, naturally produce a shallower depth of field than shorter ones like 35mm, even when shot at the same aperture. This is why many portrait photographers love telephoto lenses—they create a compressed perspective that flatters facial features while beautifully separating the subject from the background.
Distance is equally important. The closer you are to your subject, the shallower the depth of field becomes. This is why headshots often have strong background blur, while full-body portraits show more of the environment. You can use this to your advantage: step closer for intimate, soft portraits, or back up a bit if you want a more balanced look.
For example, if you’re using a 50mm lens at f/2.8, standing three feet from your subject will produce a much blurrier background than standing eight feet away. The difference can be dramatic. It’s not just about lens choice—it’s also about where you place yourself.
As you experiment with different focal lengths and subject distances, you’ll start to get a feel for how these factors work together. This is what allows experienced photographers to craft a specific look with precision, rather than relying on post-processing to fix things later.
How Sensor Size Influences DOF
Photo by Alex Yeung via Shutterstock
Another key factor in depth of field is sensor size. Larger sensors, like those in full-frame cameras, produce a shallower depth of field at the same aperture compared to smaller sensors like APS-C or Micro Four Thirds. This is why full-frame cameras are often associated with the “creamy background” look in portrait photography.
But this doesn’t mean you need a full-frame camera to create beautiful portraits. With a crop sensor, you can achieve similar results by adjusting other variables—using a slightly longer focal length, stepping closer to your subject, or choosing a wider aperture. It’s all about understanding how these elements interact.
For example, shooting at f/2.8 on a full-frame camera might give you the same background blur as f/1.8 on an APS-C camera. The math isn’t as important as the concept: sensor size is one of several tools you can use, but it doesn’t limit your creativity.
Beginners often underestimate how much control they actually have, even with entry-level gear. Learning how to manipulate depth of field with the tools you have is far more valuable than upgrading equipment right away.
How to Control Depth of Field for Portraits

Photo by PeopleImages via Shutterstock
Controlling depth of field comes down to understanding how aperture, focal length, and distance work together. If you want a shallow depth of field, you’ll typically choose a wider aperture, a longer focal length, and get closer to your subject. This combination creates that soft background blur that’s so common in portrait photography.
On the other hand, if you want more of the scene in focus—like in a group portrait—you’ll need a narrower aperture, possibly a shorter focal length, and some extra distance. Balancing these factors lets you maintain clarity while still achieving a pleasing separation between the subject and the background.
One practical tip for beginners is to think of DOF like a slider. You can adjust it by changing one or more variables depending on what you’re shooting. If your lens doesn’t open very wide, try stepping closer or using a slightly longer focal length. If your background is too sharp, open the aperture or increase your distance from the background.
Experimentation is key. The more you practice controlling depth of field, the more natural it will feel, and the more control you’ll have over the creative impact of your portraits.
Common Mistakes Beginners Make (and How to Fix Them)

Photo by Perfect Wave via Shutterstock
One of the biggest pitfalls beginners run into is shooting wide open and missing focus entirely. At apertures like f/1.4, the plane of focus is razor-thin. If the subject moves slightly or you miss focus on the eyes, the entire portrait can feel off. A simple fix is to stop down a bit—f/2.8 or f/4 can still give you great background blur with a bit more room for error.
Another common issue is using too shallow a depth of field and losing context. While a dreamy blur can be beautiful, sometimes it removes the environment entirely. If your location adds meaning to the image, try using a slightly narrower aperture to let some background details come through.
Beginners also tend to underestimate the importance of subject distance. Standing too far away can flatten the effect of depth of field, making the background feel busier than intended. Stepping closer or choosing a longer focal length can fix this quickly.
Finally, don’t forget about shutter speed and subject movement. When shooting wide open, a small shift can throw focus off. Using continuous autofocus or ensuring a fast shutter speed can help keep your subject sharp.
Creative Ways to Use DOF in Portraits
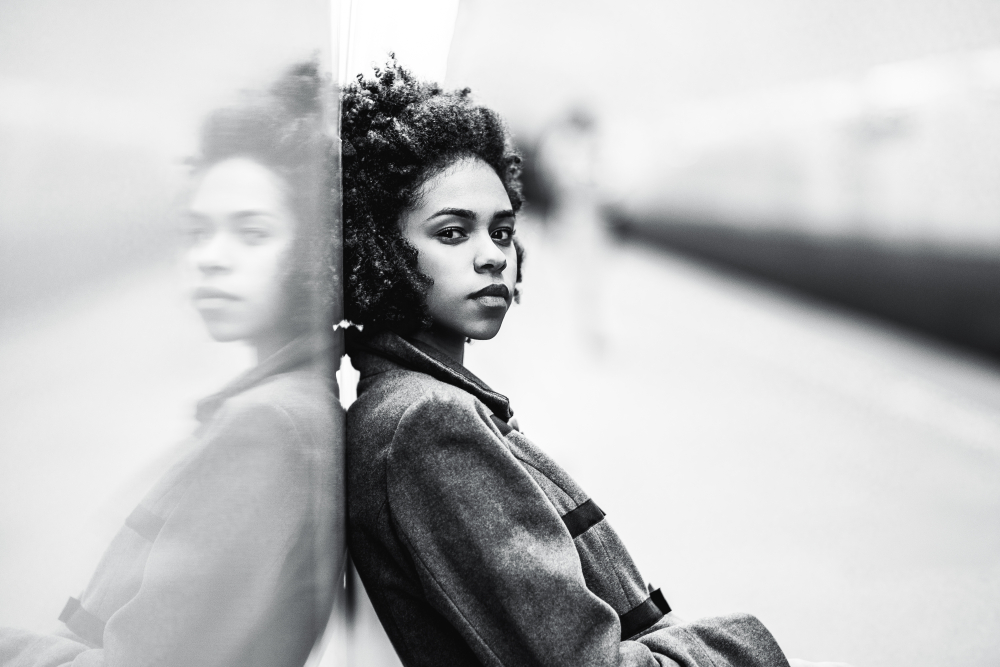
Photo by skyNext via Shutterstock
Depth of field isn’t just technical—it’s creative. A shallow depth of field can create a soft, dreamy portrait where the background fades away, making the subject the clear focal point. This works beautifully for intimate headshots or portraits where emotion takes center stage.
But don’t overlook the power of a slightly deeper depth of field. Including a hint of the environment can help tell a richer story. For example, keeping the interior of a workshop slightly in focus while still emphasizing the subject gives the portrait a sense of place.
You can also experiment with layering. Place your subject between foreground and background elements and use depth of field to draw attention to them while allowing other elements to soften. This can give your portraits a more cinematic quality.
Depth of field is one of the best ways to express your style as a photographer. Whether you prefer soft, ethereal portraits or images with context and depth, learning to control this element will help you develop a signature look over time.
Bringing It All Together

Photo by JGA via Shutterstock
Understanding depth of field is one of the most impactful steps a beginner can take in portrait photography. It’s the difference between hoping for a good shot and intentionally creating one. When you can shape how the viewer’s eye moves through an image, you start to tell stories through your portraits, not just capture faces.
You don’t need expensive equipment to master this skill. With practice, even a basic lens and camera can produce beautifully blurred backgrounds or richly detailed scenes. What matters most is understanding the relationship between aperture, focal length, distance, and sensor size.
The more you experiment, the more intuitive it becomes. Before long, controlling depth of field won’t feel like a technical chore—it will feel like second nature. And that’s when your portraits begin to carry a sense of purpose and emotion that connects with the viewer.
FAQ
What aperture is best for portrait photography?
There’s no single perfect aperture, but f/1.8 to f/4 is a popular range for creating soft background blur. For group shots, stopping down to f/5.6 or f/8 ensures more faces are in focus.
Can I get background blur with a kit lens?
Yes, you can. Even lenses with narrower maximum apertures can achieve a pleasing background blur if you position your subject farther from the background and get closer to them.
Do I need a full-frame camera to create shallow depth of field?
No. While larger sensors help, you can achieve shallow depth of field on crop sensor cameras by using wider apertures, longer focal lengths, or adjusting subject distance.
Why are my portraits out of focus at wide apertures?
Wide apertures create a very thin plane of focus. Even slight movement from you or your subject can throw focus off. Try stopping down a bit or using continuous autofocus.
How do I practice controlling depth of field?
Pick a simple subject and take a series of shots while adjusting one variable at a time—aperture, distance, or focal length. Reviewing the results will help you understand how each factor affects the image.
A quick heads-up: If you snag something through our affiliate links or check out our sponsored content, we might earn a commission at no extra cost to you. But fear not, we’re all about recommending stuff we’re truly stoked about!
Learn More:
- How to Capture Authentic Expressions in Portrait Photography
- 4 Simple Portrait Photography Tips for Beginners
Hero photo by Darren Baker via shutterstock